Spring Cloud 之 Spring Cloud Stream
Spring Cloud Stream 是 Spring Cloud 体系中的消息中间件组件,它集成了 kafka 和 rabbitMQ
它屏蔽掉了底层不同消息中间件之间的差异,降低了学习成本和维护成本 (就像我们用 ORM 框架来取代直接操作数据库一样)
快速上手
编写代码之前我们需要搭建一个 rabbitMQ 环境,这里不再累述
构建消息生产者 stream-producer
- 引入依赖
<dependency>
    <groupId>org.springframework.cloud</groupId>
    <artifactId>spring-cloud-starter-stream-rabbit</artifactId>
</dependency>
- 创建启动类
@SpringBootApplication
public class StreamProducerApplication {
    public static void main(String[] args) {
        SpringApplication.run(StreamProducerApplication.class, args);
    }
}
- 配置文件
server:
  port: 10011
spring:
  application:
    name: stream-producer
  rabbitmq:  # 我们的 rabbitMQ 配置
    host: localhost
    port: 5672
    username: guest
    password: guest
    virtual-host: /
  cloud:
    stream:
      bindings:
        output:  # 该属性的值就是 org.springframework.cloud.stream.messaging.Source 中的 @Output("output") 注解的 value 值
          destination: stream.message  # 绑定的交换机名称
eureka:
  client:
    service-url:
      defaultZone: http://127.0.0.1:10010/eureka/
- 编写发送消息的类
@Component
@EnableBinding(Source.class)
public class MessageProducer {

    @Autowired
    private Source source;

    public void send(String message) {
        source.output().send(MessageBuilder.withPayload(message).build());
    }

}
构建消息消费者 stream-consumer
- 引入依赖
<dependency>
    <groupId>org.springframework.cloud</groupId>
    <artifactId>spring-cloud-starter-stream-rabbit</artifactId>
</dependency>
- 创建启动类
@SpringBootApplication
public class StreamConsumerApplication {
    public static void main(String[] args) {
        SpringApplication.run(StreamConsumerApplication.class, args);
    }
}
- 配置文件
server:
  port: 10012
spring:
  application:
    name: stream-consumer
  rabbitmq:
    host: localhost
    port: 5672
    username: guest
    password: guest
    virtual-host: /
  cloud:
    stream:
      bindings:
        input:
          destination: stream.message
eureka:
  client:
    service-url:
      defaultZone: http://127.0.0.1:10010/eureka/
- 编写消费消息的类
@Component
@EnableBinding(Sink.class)
public class MessageConsumer {

    @StreamListener(Sink.INPUT)
    public void receive(String message) {
        System.out.println("message = " + message);
    }

}
发现了没?除了生产消息和消费消息的类,其他都是一模一样的
测试服务可用性
我们在消息生产者这边编写测试代码
@RunWith(SpringJUnit4ClassRunner.class)
@SpringBootTest
public class MessageProducerTest {

    @Autowired
    private MessageProducer messageProducer;

    @Test
    public void testSend(){
        messageProducer.send("你好呀");
    }

}
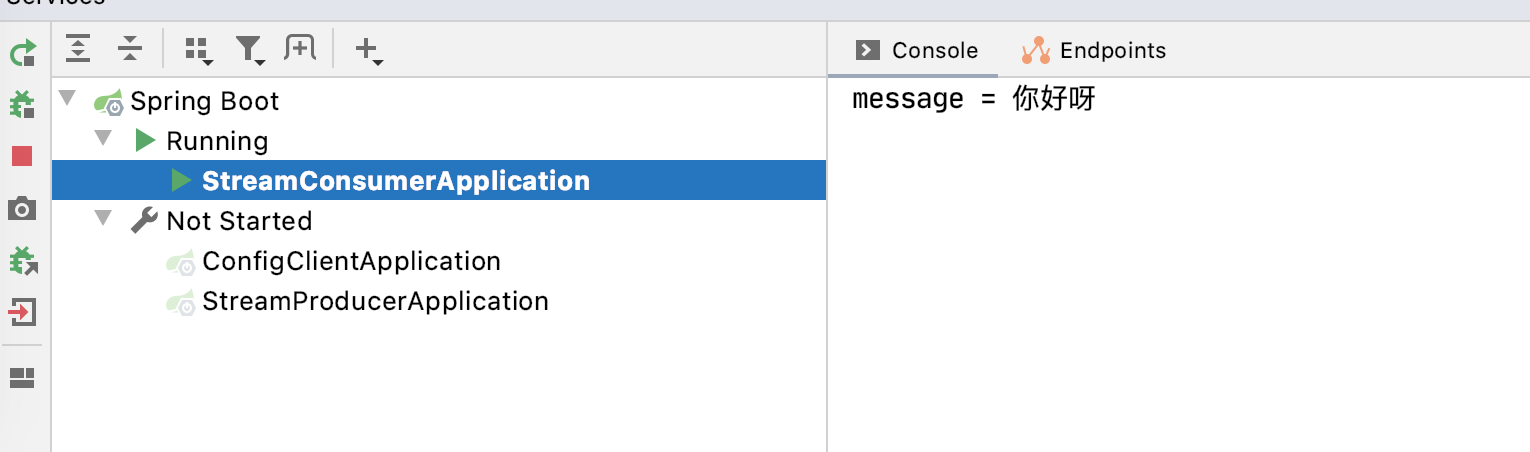
消费者这边我们可以看到控制台成功打印消息
高级部分
现在我们对 stream-consumer 的配置文件进行修改
server:
  port: 10012
spring:
  application:
    name: stream-consumer
  cloud:
    stream:
      bindings:
        input:
          destination: stream.message
          binder: remote_rabbit
      binders:
        remote_rabbit:
          type: rabbit
          environment:
            spring:
              rabbitmq:
                host: 47.96.146.241
                port: 5672
                username: guest
                password: guest
                virtual-host: /
eureka:
  client:
    service-url:
      defaultZone: http://127.0.0.1:10010/eureka/
重新运行,发现还是可以成功运行的
配置解析
我们结合下面这张图来解释配置文件
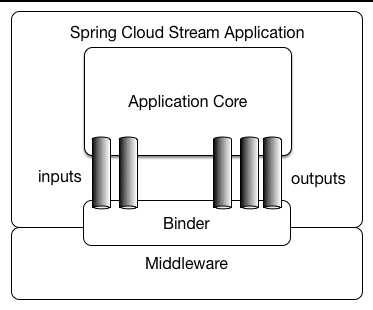
spring.cloud.stream.binders 声明一个 binder,命名为 remote_rabbit,type 为 rabbit ,表示使用的是 rabbitmq 消息中间件,如果用的是 kafka ,则 type 设置为 kafka。environment 就是使用的消息中间件的配置信息。可以声明多个 binder 以适配不同的场景
spring.cloud.stream.bindings 中可以声明多个 channel (通道),如上面这个配置文件中,就声明一个 input 消息接收通道,绑定了 rabbit 的 stream.message 交换机。这就意味着 input 通道可以接收 rabbit 中推到 stream.message 交换机的信息
需要注意的是,这个 input 可不是乱写的,观察我们上面的代码,消费消息类的 receive 方法上的 @StreamListener(Sink.INPUT) 注解
public interface Sink {
    String INPUT = "input";

    @Input("input")
    SubscribableChannel input();
}
也就是说,这个 input 就是 org.springframework.cloud.stream.messaging.Sink 中的 @Input("input") 注解的 value 值
好了,现在我们清楚了,标注了 @StreamListener(Sink.INPUT) 的这个方法就是用来监听 input 绑定的 remote_rabbit 的 stream.message 交换机的信息的(觉得绕的多读几遍哈哈)
消息生产者的 output 也同理,具体可以查看 org.springframework.cloud.stream.messaging.Source 的源码
这也是 SpringBoot 的约定大于配置思想的体现
自定义消息通道
根据上面的思想,我们可以仿照官方来编写自己的消息通道
- 自定义消息接收通道
public interface MySink {
    String MY_INPUT = "my_input";

    @Input(MY_INPUT)
    SubscribableChannel input();
}
- 增加配置
  cloud:
    stream:
      bindings:
        input:
          destination: stream.message
          binder: remote_rabbit
        my_input:
          destination: stream.my_input_message
          binder: remote_rabbit
- 改造 MessageConsumer 类
在 @EnableBinding 中增加 MySink.class
@Component
@EnableBinding({Sink.class, MySink.class})
public class MessageConsumer {

    @StreamListener(Sink.INPUT)
    public void receive(String message) {
        System.out.println("message = " + message);
    }


    @StreamListener(MySink.MY_INPUT)
    public void receiveMyInput(String message) {
        System.out.println("my message = " + message);
    }

}
重启项目,并打开 rabbitmq 的可视化界面
- 发布一条消息
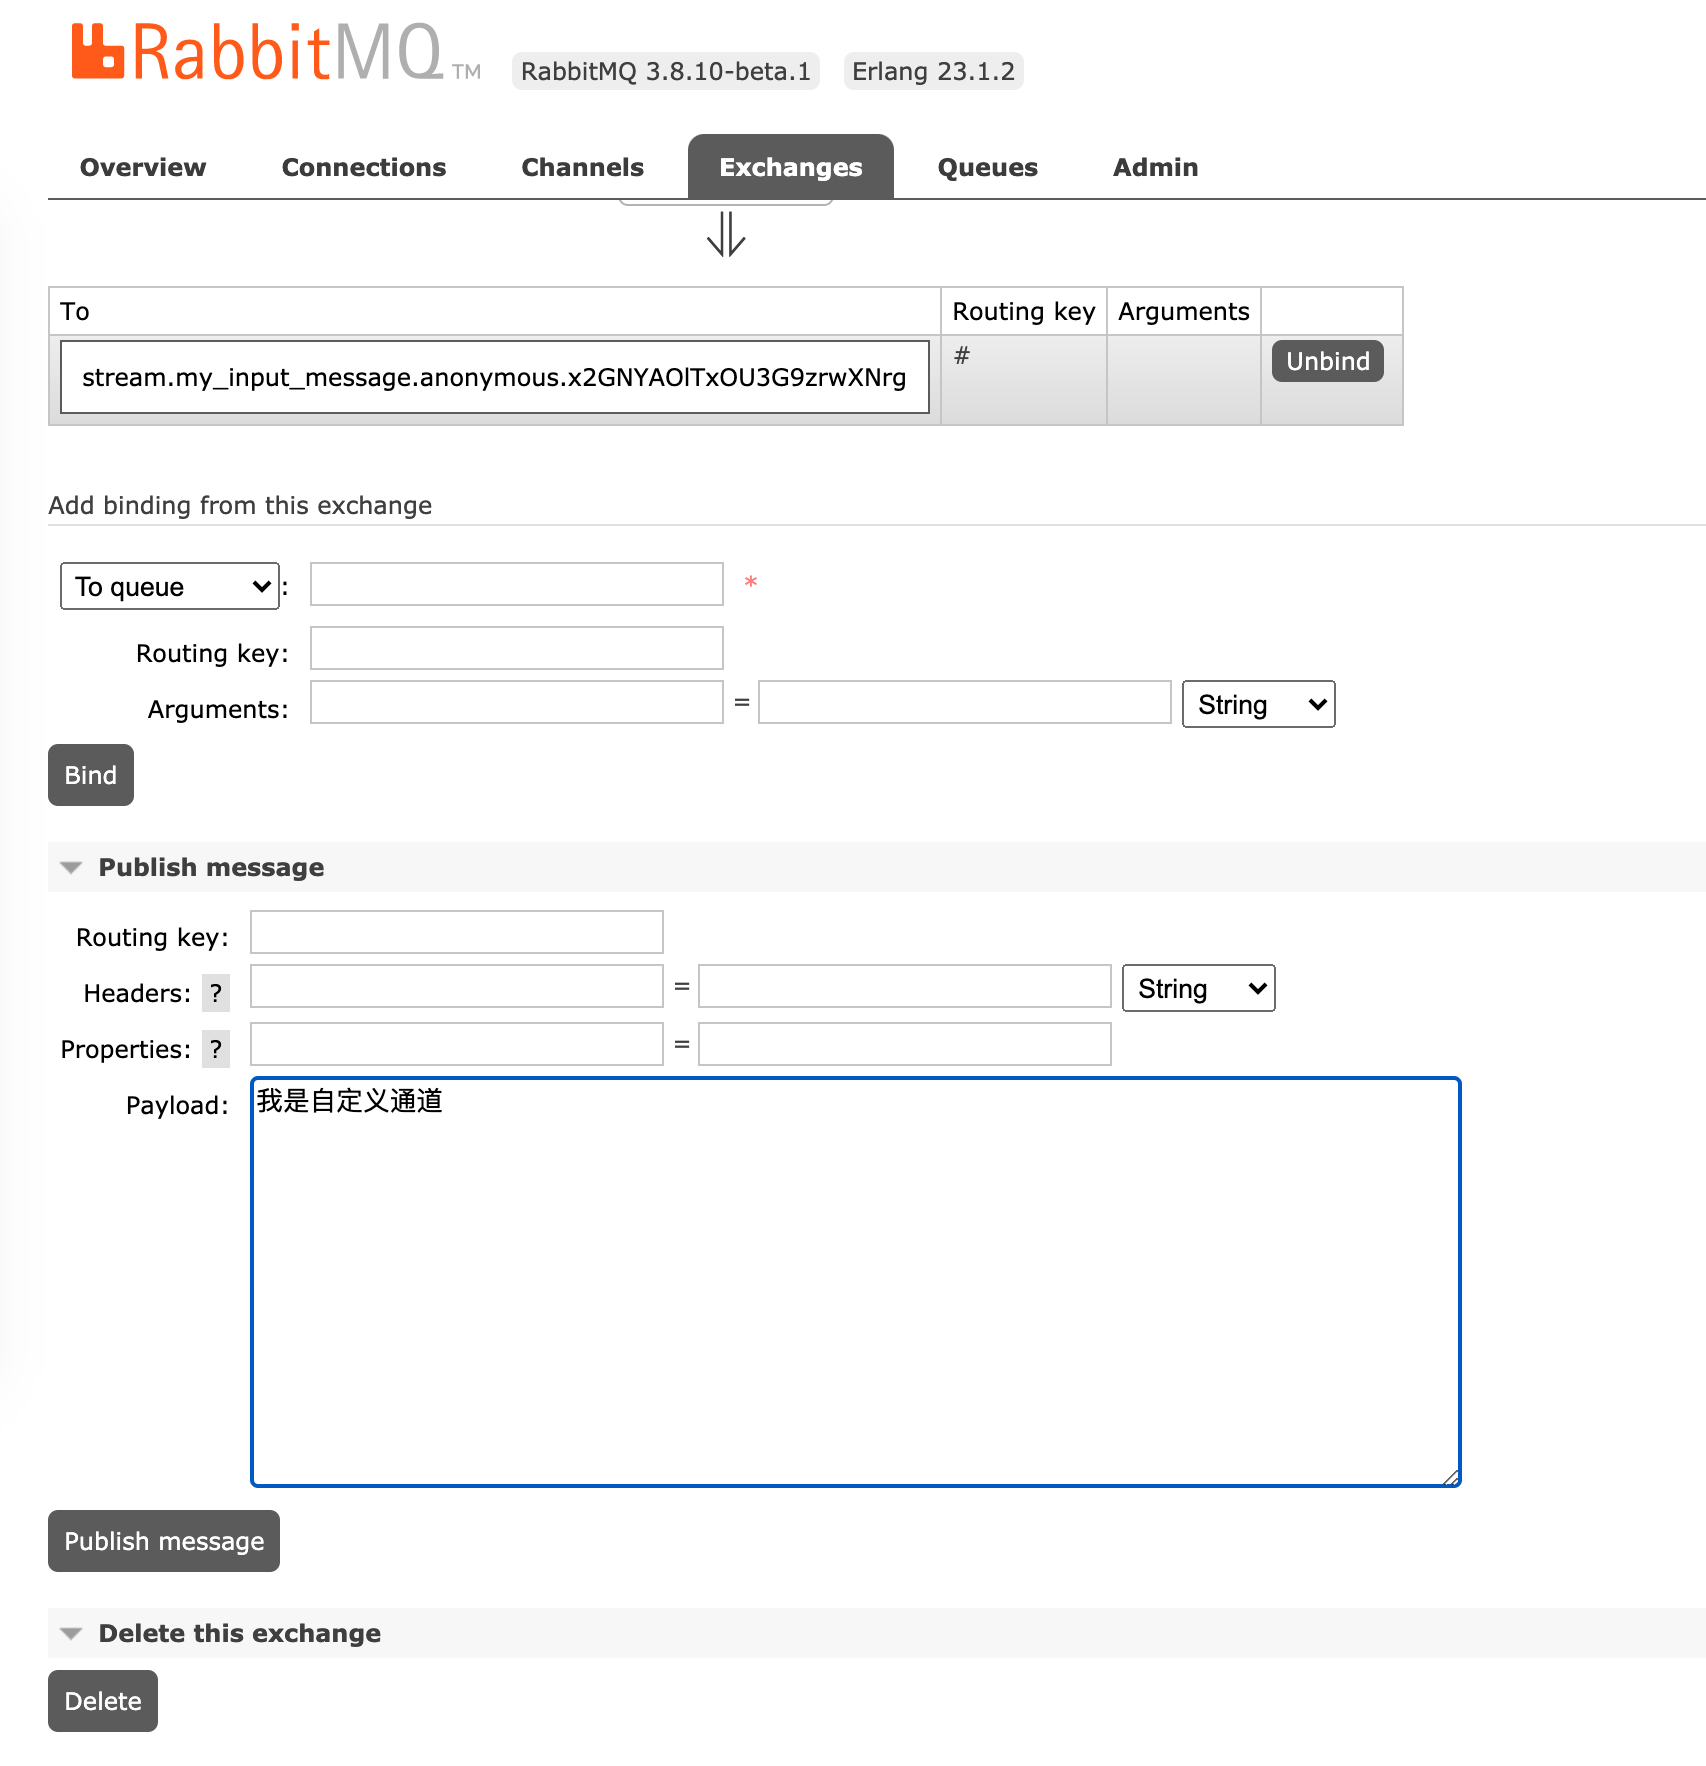
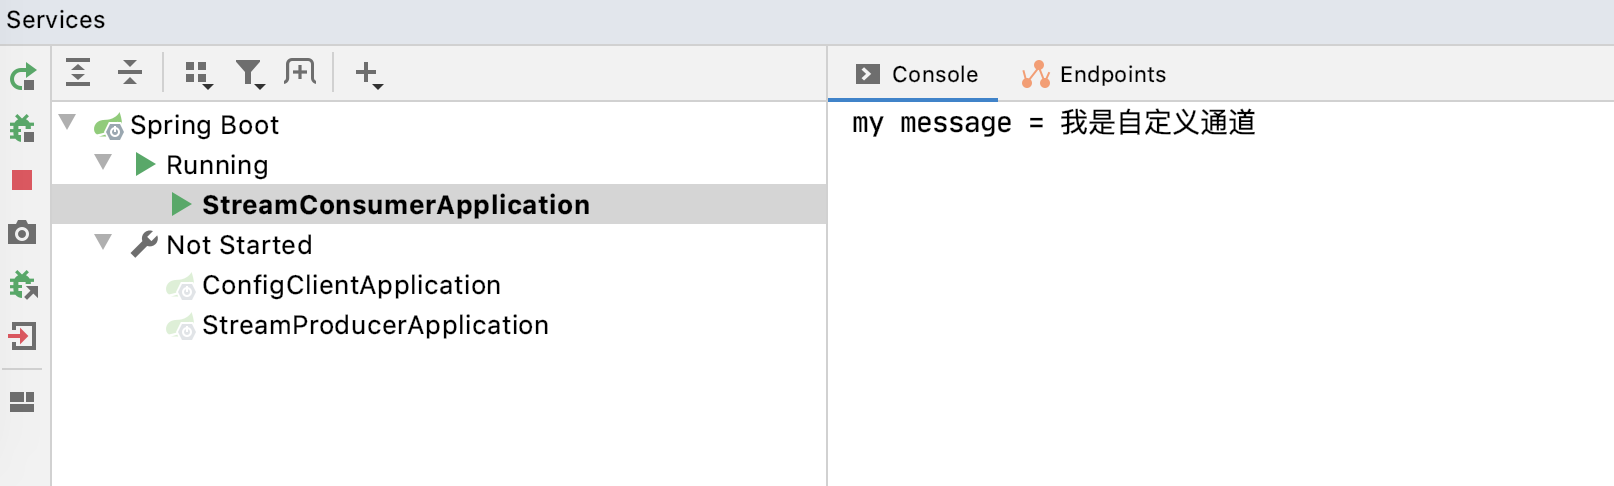
- 结果如下
消息分组
在微服务体系下,我们的服务有可能不是一个实例,但是对于消息我们只需要消费一次,而不是让所有的实例都消费。
Spring Cloud Stream 的解决方案是设置 group, 只要把这些实例的 group 设为同一个,那就只有一个实例消费消息,避免重复消费。这是因为如果设置了 group,那么 exchange 流向的 queue 名称就会成为 group 的名称,否则就是随机字符串
  cloud:
    stream:
      bindings:
        input:
          destination: stream.message
          binder: remote_rabbit
        my_input:
          destination: stream.my_input_message
          binder: remote_rabbit
          group: my_group
消息回执
消息回执,顾名思义就是收到消息后再做处理
我们假设需要在消息消费后发送一条信息到日志服务
- 定义消息通道
// 消息接收通道
public interface LogSink {
    String LOG_INPUT = "log_input";

    @Input(LOG_INPUT)
    SubscribableChannel input();
}

// 消息发送通道
public interface LogSource {
    String LOG_OUTPUT = "log_output";

    @Output(LOG_OUTPUT)
    MessageChannel output();
}
- 改造 MessageConsumer 类
@Component
@EnableBinding({Sink.class, MySink.class, LogSource.class, LogSink.class})
public class MessageConsumer {

    @StreamListener(Sink.INPUT)
    public void receive(String message) {
        System.out.println("message = " + message);
    }

    /**
     * 在监听到 MySink.MY_INPUT 后,通过 SendTo 将处理后的消息发送到 LogSource.LOG_OUTPUT
     * @param message 收到的消息
     * @return 日志内容
     */
    @StreamListener(MySink.MY_INPUT)
    @SendTo(LogSource.LOG_OUTPUT)
    public String receiveMyInput(String message) {
        System.out.println("my message = " + message);
        return "log" + message;
    }

    @StreamListener(LogSink.LOG_INPUT)
    public void logMessage(String message) {
        System.out.println("log message = " + message);
    }

}
- 增加配置
  cloud:
    stream:
      bindings:
        log_input:
          destination: stream.log_message
          binder: remote_rabbit
        log_output:
          destination: stream.log_message
          binder: remote_rabbit
配置完成,重启项目试试看吧
其他
Spring Cloud Stream 中还有消费分区、消息降级等概念,篇幅有限,就不做展开啦(▽)
相关源码地址
仅供参考
https://github.com/logycoconut/Spring-Cloud-Notes/tree/master/stream